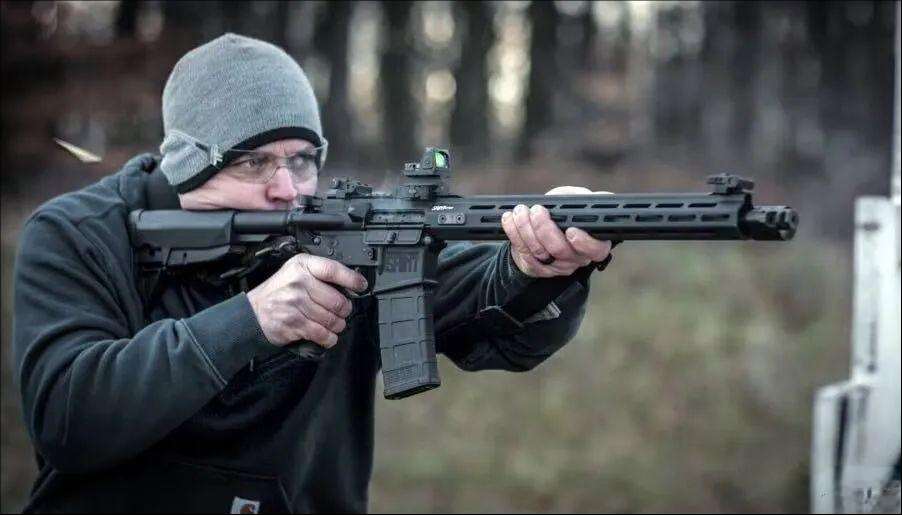
Red dot sights have revolutionized the way shooters aim and acquire targets. Whether you’re a seasoned marksman or a beginner rifle enthusiast, a red dot sight for rifle offers fast target acquisition and enhanced shooting accuracy. However, even the most advanced optic won’t help much if it’s not properly zeroed. This guide walks you through how to zero a red dot sight step-by-step, helping you make the most out of your optic setup and ensuring your shots hit where you intend.
Why Accurate Red Dot Sight Zeroing is Crucial?
Zeroing a red dot sight simply means aligning the point of aim (your red dot) with the point of impact (where the bullet hits) at a specific distance. This process is critical because even a small misalignment can lead to major inaccuracies downrange.
Here’s why proper red dot sight zeroing matters:
Consistency: Without zeroing, your shots will consistently miss the mark regardless of your shooting technique.
Confidence: Knowing your sight is accurately dialed in gives you peace of mind and boosts shooting performance.
Efficiency: You’ll waste fewer rounds trying to hit your target, which is especially important in hunting or tactical scenarios.
Safety: An unzeroed sight could result in unintended impacts, which can be dangerous.
In short, zeroing your red dot is not just helpful—it’s essential.
Getting Ready: What Tools and Environment Do You Need?
Before diving into the process, you’ll need a few tools and an appropriate environment to work effectively and safely.
What You’ll Need:
- A rifle with a mounted red dot sight
- Ammunition you plan to use regularly
- A solid rest or bipod to stabilize your rifle
- Targets with a clearly defined center
- A screwdriver or tool to adjust windage and elevation
- Eye and ear protection
- A range with marked distances (preferably 25, 36, or 50 yards)
Optional But Helpful:
- A bore sighting tool to get you close to zero before firing
- Spotting scope or binoculars to see impacts without walking to the target
Make sure to choose a safe and controlled environment where you can fire multiple rounds and make precise adjustments without distractions.
Step-by-Step Guide to Zeroing Your Red Dot Sight
Step 1: Choose the Right Zeroing Distance
One of the most common questions is: What distance should I zero my red dot sight at?
Here are the most popular options:
25 yards/meters: Good for close-range shooting, fast sight-in.
36 yards: Common for AR platforms, offering a “battle zero” with minimal drop out to 300 yards.
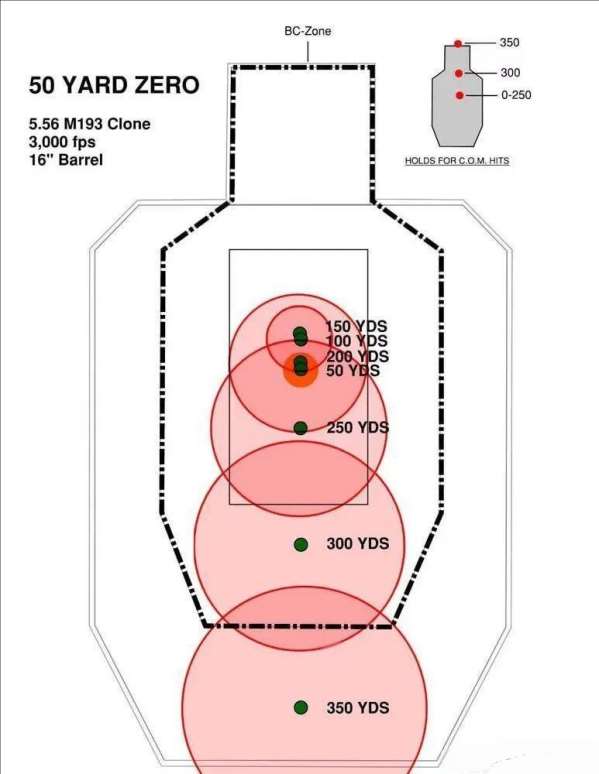
50 yards: Preferred by many for general use; a flatter trajectory and better performance at longer ranges.
100 yards: Best for long-range zero but more time-consuming to sight in.
For beginners, 36 or 50 yards is a great starting point, balancing short and mid-range accuracy.
Step 2: Fire a 3-Round Group
With your rifle securely rested, fire a 3-round group at the target’s center. Focus on keeping your shooting consistent. Don’t chase individual bullet holes; look for the group’s center.
Tip: If you’re way off target, use a bore sighting tool to get close before firing.
Step 3: Adjust the Red Dot Sight
Now it’s time to move the red dot, not your point of aim. If your group is 2 inches low and 1 inch left, adjust the elevation (up/down) and windage (left/right) dials accordingly.
Most red dot sights adjust in MOA (Minute of Angle) increments, typically 1 MOA = 1 inch at 100 yards. That means:
At 50 yards, 1 MOA = 0.5 inch
At 25 yards, 1 MOA = 0.25 inch
Follow your sight’s manual and make deliberate adjustments—better to adjust slowly and retest than to overcorrect.
Step 4: Fire Another Group & Fine-Tune
After adjusting, fire another 3-round group at the same aiming point. If your rounds now land in the center, congratulations—you’re zeroed! If not, continue to make small adjustments and fire groups until your rounds are consistently hitting your point of aim.
Repeat the process until your red dot sight for rifle is perfectly zeroed.
Step 5: Confirm at Secondary Distance (Optional)
Once you’re zeroed at your chosen distance, you may want to confirm your zero at a secondary distance (e.g., zeroed at 50 yards, confirm at 100 yards). This gives you a sense of your round’s trajectory and helps you understand holdover for longer distances.
Common Mistakes and Troubleshooting
Zeroing isn’t always straightforward. Avoid these common mistakes:
Mistake 1: Ignoring Parallax
Issue: Cheek weld shifts cause dot movement relative to the target.
Fix: Use a sight with parallax-free design (typically fixed at 50–100 yards).
Mistake 2: Rushing the Process
Issue: Adjusting after every shot creates confusion.
Fix: Fire 3–5 rounds per group to average out human error.
Mistake 3: Neglecting Environmental Factors
Issue: Heat mirage or wind alters bullet path mid-session.
Fix: Zero during stable conditions or compensate using ballistic apps.
Mistake 4: Overlooking Zero Retention
Issue: Cheap sights lose zero after recoil or bumps.
Fix: Invest in rugged optics (e.g., FORESEEN OPTICS Scopes Accessories).
Mastering Red Dot Sight Zeroing: Enhance Your Shooting Experience
Mastering how to zero a red dot sight transforms your shooting experience. You’ll hit targets with greater precision, shoot more confidently, and understand your weapon’s capabilities better.
Zeroing a red dot sight isn’t just a chore—it’s a skill that bridges technology and marksmanship. By following this guide, you’ll transform missed opportunities into confident hits, whether you’re defending your home, competing, or hunting.