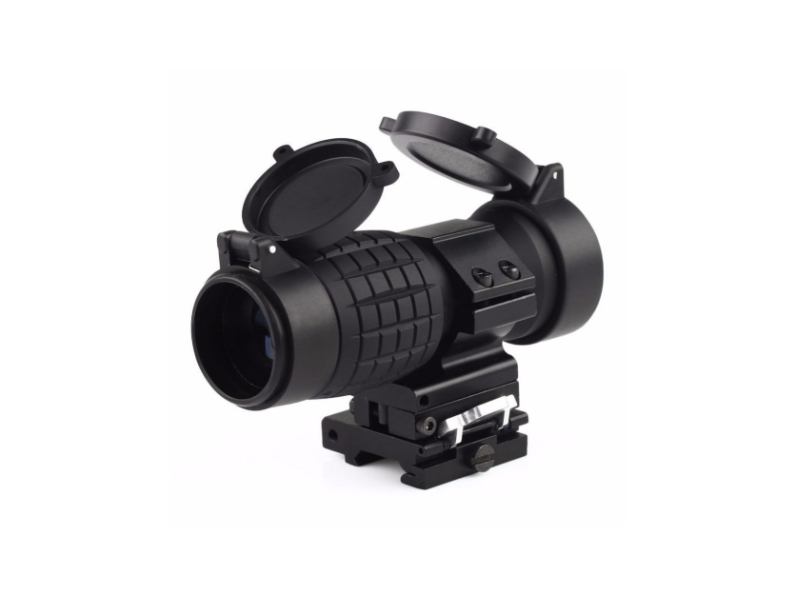
Red dot sights have revolutionized shooting accuracy, offering rapid target acquisition and versatility in dynamic scenarios. Whether used for tactical operations, hunting, or competitive shooting, these optics rely on simplicity and precision. However, like any electronic or mechanical device, red dot sights can malfunction due to environmental factors, improper handling, or wear and tear.
This guide explores how red dot sights work, identifies seven common issues users encounter, and provides actionable solutions to keep your optic performing flawlessly.
How Does a Red Dot Sight Work?
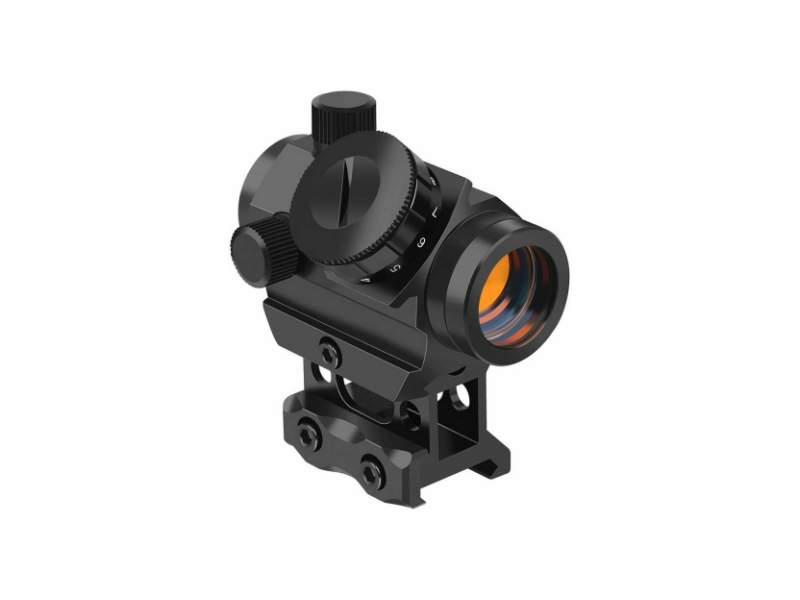
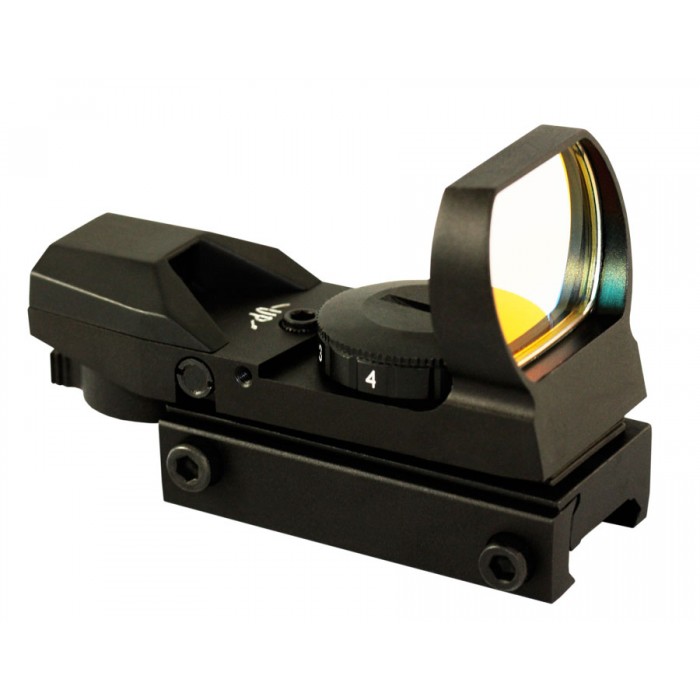
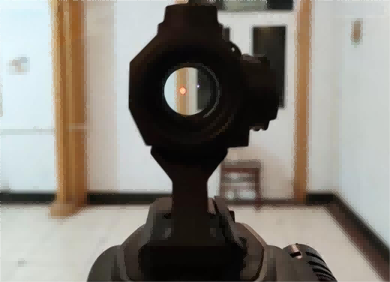
Before addressing malfunctions, it’s essential to understand the basic principles of how a red dot sight operates. At its core, a red dot sight uses an LED (Light Emitting Diode) to project a red (or sometimes green) dot onto a reflective lens. This lens is designed to collimate the light, meaning it makes the light rays parallel, creating the illusion that the dot is projected at infinity.
The user sees the dot superimposed on the target, allowing for quick and intuitive aiming. The intensity of the dot is often adjustable to suit various lighting conditions. The key components include:
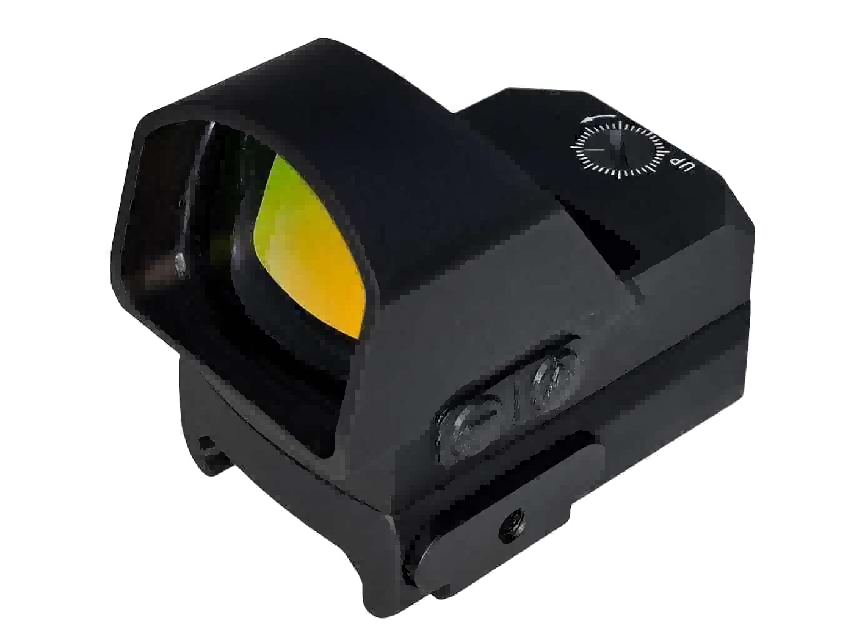
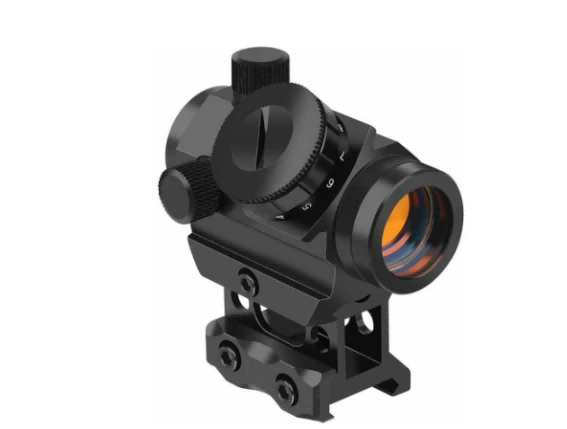
- LED Emitter: A light-emitting diode (LED) generates the red dot, typically adjustable in brightness.
- Reflective Lens: A coated lens that reflects the LED light towards the user’s eye.
- Housing: The protective shell that contains the internal components.
- Adjustment Mechanisms: Dials or screws for windage and elevation adjustments.
- Battery Compartment: Houses the power source for the LED.
Unlike magnified optics, red dot sights work with both eyes open, enhancing situational awareness. Their simplicity makes them durable, but not immune to issues.
Common Malfunctions and Solutions for Red Dot Sights
1. Abnormal Red Dot Brightness: Not Illuminated or Flickering
- Problem: The most common issue is a dim, flickering, or completely non-illuminated red dot.
- Causes:
Dead or weak battery.
Corroded battery contacts.
Damaged wiring or LED.
Moisture ingress disrupting circuits. - Solutions:
Replace the battery with a fresh, high-quality unit.
Clean battery contacts using a cotton swab and isopropyl alcohol.
Check for moisture inside the housing; if present, disassemble (if possible) and dry with silica gel packets.
If the LED is faulty, contact the manufacturer for repair.
2. Red Dot Drift or Inability to Zero
- Problem: The red dot shifts from its zeroed position or cannot be properly zeroed.
- Causes:
Loose mounting screws.
Damaged adjustment turrets (windage/elevation).
Thermal expansion/contraction of materials.
Internal mirror/LED misalignment. - Solutions:
Tighten mounting screws to the manufacturer’s recommended torque (use Loctite® for stability).
Test the sight on another firearm to rule out rail issues.
Re-zero the sight in stable environmental conditions.
If drift persists, the internal components may need recalibration by a professional.
3. Button Malfunction, Functional Disorder
- Problem: Buttons for brightness adjustment or power control fail to respond or function erratically.
- Causes:
Dirt/debris under buttons.
Water damage.
Worn-out circuitry. - Solutions:
Clean buttons with compressed air and a soft brush.
For water damage, power off the sight and dry it thoroughly.
Reset the sight to factory settings (if supported).
Replace the control module if issues persist.
4. Battery Drains Too Quickly or Fails to Power
- Problem: The battery drains much faster than expected or fails to power the sight even when new.
- Causes:
Using incorrect battery type.
High brightness settings.
Defective auto-shutdown feature. - Solutions:
Use lithium batteries (e.g., CR2032) for longevity.
Lower the brightness setting to the minimum usable level.
Disable motion-activated modes if not needed.
Test the battery compartment with a multimeter for parasitic drain.
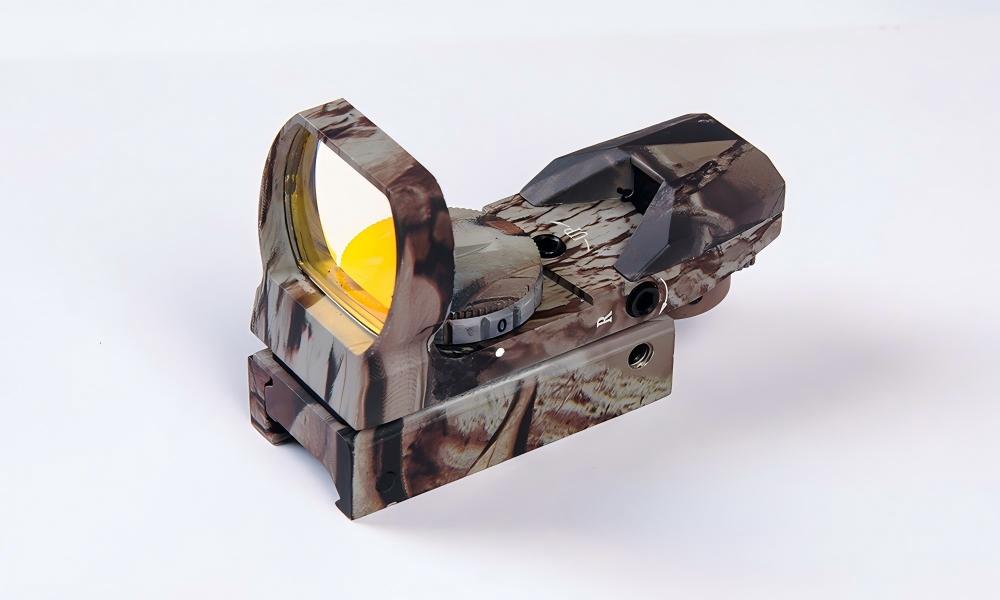
5. Scratches or Cracks on the Lens
- Problem: Scratches or cracks on the lens obstruct the view and affect the clarity of the red dot.
- Causes:
Impact with hard surfaces.
Improper cleaning (abrasive materials). - Solutions:
Minor scratches can be mitigated with lens pens or anti-reflective coatings.
Deep cracks require lens replacement; contact the manufacturer.
Always use a lens cover when not in use.
6. Damaged Sight Housing
- Problem: The housing of the red dot sight is damaged due to impact or other factors.
- Causes:
Drops or impacts.
Over-tightened mounts. - Solutions:
Minor dents may not affect performance but monitor for zero shifts.
Replace severely damaged housings to maintain waterproofing and structural integrity.
7. Fogging Inside the Sight
- Problem: Condensation or fogging appears inside the sight, obscuring the view.
- Causes:
Broken O-rings or seals.
Rapid temperature/humidity changes. - Solutions:
Store the sight in a climate-controlled environment.
Use nitrogen-purged sights for fog-proof performance.
If fogging occurs, let the sight acclimate gradually; avoid opening the battery compartment in humid conditions.
Red Dot Sight Daily Maintenance and Care
As an indispensable auxiliary tool in modern shooting, the performance of a red dot sight directly affects aiming speed, accuracy, and reliability. Although these optical devices are designed with durability in mind, daily maintenance and care are still crucial to ensure their long-term stable operation.
Regularly Clean the Lens and Housing
- Use a soft, lint-free cloth and lens cleaning solution to clean the lens.
- Wipe down the housing with a damp cloth to remove dirt and debris.
Proper Storage of the Red Dot Sight
- Store the sight in a dry, cool place away from direct sunlight.
- Use a protective case or cover to prevent damage.
- Remove the battery when storing for long periods of time.
Avoid Severe Vibrations and Impacts
- Handle the sight with care to prevent damage from impacts or vibrations.
- Use appropriate mounting hardware to secure the sight to the firearm.
Regular Zero Checks
- Periodically check the zero of the red dot sight to ensure accuracy.
- Re-zero the sight as needed.
In Conclusion
Red dot sights are indispensable tools for many shooters. By understanding their operation and common malfunctions, you can effectively troubleshoot issues and maintain peak performance. Regular maintenance and careful handling will extend the life of your red dot sight and ensure reliable operation when you need it most. By addressing these 7 common malfunctions, and keeping up with the daily care of the sight, you will be able to keep your red dot in excellent working condition.
Since 2002, FORESEEN OPTICS has been a trusted leader in red dot sight manufacturing, combining cutting-edge engineering with a deep understanding of shooters’ needs. FORESEEN OPTICS stands apart with unmatched reliability and comprehensive after-sales support. Every sight is backed by proactive maintenance guidance, rapid repair services, and lifetime technical assistance, ensuring your optic performs flawlessly—today and decades from now.